
Introduction
You know those nights when cooking feels like climbing Everest in flip-flops? Yeah, we’ve all been there. Between Zoom meetings that should’ve been emails and your dog giving you that “I haven’t eaten in approximately 47 seconds” look, the last thing you want is a recipe with more steps than a TikTok dance tutorial.
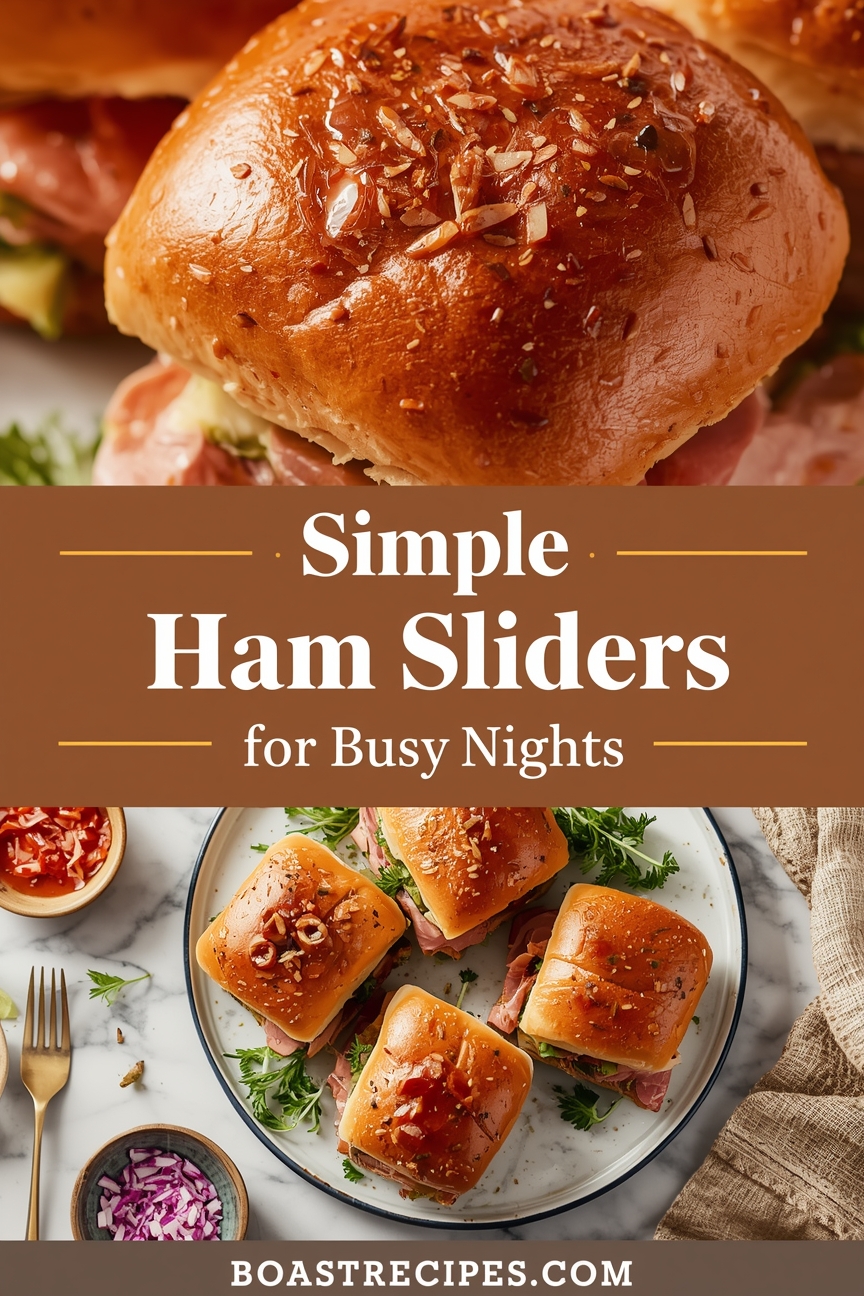
Enter: ham sliders. They’re ridiculously easy, stupidly delicious, and require less effort than explaining to your in-laws why you “forgot” to call last Sunday. Plus, they’re basically an excuse to eat something that feels indulgent without actually being difficult. Are they fancy? Nope. Will your family devour them like they’re Michelin-starred? Absolutely.
Why This Recipe Is Awesome
Let’s be honest: some recipes are show ponies. They look pretty on Pinterest but require 17 ingredients you’ll use once and then forget in the back of your pantry until 2027. These ham sliders are the opposite. They’re the reliable friend who shows up with pizza when you’re having a meltdown.
First off, they come together in about 15 minutes if you’re speedy, or 20 if you’re like me and stop to check your phone every 30 seconds. You can prep them ahead, bake them when you’re ready, and they reheat like a dream (hello, next-day lunch!). The combination of salty ham, melty cheese, and that subtly sweet, buttery topping hits all the comfort food notes without making you feel like you need a nap afterwards.
And here’s the kicker: you can customize these bad boys until the cows come home. Got picky eaters? Swap the cheese, skip the onions, or add a pickle. Feeling fancy? Throw in some avocado or a schmear of fancy mustard. They’re forgiving, flexible, and practically impossible to mess up—which is great news for anyone who’s ever burned water.
Ingredients
Here’s what you’ll need to round up. Spoiler alert: it’s not rocket science. Most of this stuff probably lives in your kitchen already.
• 12 slider buns (the soft, squishy Hawaiian rolls kind—don’t overthink this)
• 1 lb sliced deli ham (go for good quality, not the mystery meat packed in gelatin)
• 6–8 slices Swiss cheese (or provolone, cheddar, whatever makes you happy)
• 1/2 cup (1 stick) unsalted butter
• 1 tablespoon yellow mustard
• 1 teaspoon Worcestershire sauce
• 1/2 teaspoon onion powder
• 1/2 teaspoon garlic powder
• 1 tablespoon brown sugar (optional, but highly recommended for that sweet-salty vibe)
• Poppy seeds (also optional, but they make it look like you tried)
Step-by-Step Instructions
Ready to assemble your edible masterpiece? Follow these steps and you’ll be done before your next existential crisis about laundry.
1. Preheat your oven to 350°F (175°C). Grab a 9×13 baking dish—no need to grease it unless you’re paranoid about sticky situations.
2. Without separating the rolls, slice the entire sheet of Hawaiian rolls in half horizontally. You want a top bun “lid” and a bottom bun “base.” Channel your inner lumberjack and use a serrated knife so you don’t squish them.
3. Place the bottom half of the rolls in your baking dish. Layer the ham evenly over the buns. Fold the ham slices so they’re not just flopping around like sad dishrags.
4. Top the ham with your cheese slices. Tear them if they’re too big. Swiss is classic, but cheddar works if you’re feeling rebellious.
5. Place the top half of the rolls over the cheese. Press down gently so everything gets cozy. Don’t smash it into oblivion—we’re making sliders, not paninis.
6. In a small saucepan, melt the butter over low heat. Whisk in the mustard, Worcestershire sauce, onion powder, garlic powder, and brown sugar (if using). Let it simmer for 1 minute until it’s combined and smells like heaven.
7. Pour or brush the butter mixture all over the tops of the rolls. Get into every nook and cranny without drowning them. Sprinkle poppy seeds on top if you’re feeling extra.
8. Cover the dish with aluminum foil and bake for 10 minutes. Remove the foil and bake for another 5–8 minutes, until the cheese is melted and the tops are golden and slightly crisp.
9. Let them cool for 2–3 minutes (unless you enjoy molten cheese burns on your tongue). Slice into individual sliders with a sharp knife and serve warm.
Common Mistakes to Avoid
Even the best of us occasionally mess up something simple. Here’s how to avoid the classic facepalm moments.
• Don’t separate the rolls before assembling. Keep them connected! Trying to assemble 12 individual sliders is like herding cats—pointless and frustrating. Cut the whole sheet in half horizontally, layer, then replace the top.
• Don’t skip the butter mixture. That’s where the magic happens. It soaks into the buns while baking, creating a tender, flavorful crust that’s not dry or sad. Dry sliders are a crime against humanity.
• Don’t overbake them. Set a timer! These only need 15–18 minutes total. Overbaking turns your lovely sliders into hockey pucks that could double as doorstops.
• Don’t forget to cover with foil initially. This steams the sliders and melts the cheese without burning the tops. Skipping the foil means you’ll have crispy tops and cold insides—nobody wants that.
• Don’t use stale buns. If your Hawaiian rolls have been sitting on the counter for three days, they’re probably as dry as a bad stand-up routine. Fresh, soft rolls equal fresh, soft sliders.
Alternatives & Substitutions
Feeling fancy or just working with what’s in your fridge? No problem. This recipe is more flexible than your yoga instructor.
• Try turkey or roast beef instead of ham. It’s like giving the recipe a new outfit. Just don’t tell the ham purists.
• Swap Swiss for provolone, cheddar, or even pepper jack if you want a little kick. Cheese is cheese—it’s all good.
• Add a layer of caramelized onions or thin apple slices for a sweet, savory twist. It’s like upgrading from economy to first class.
• Use Dijon or honey mustard instead of yellow mustard if you’re feeling bougie. I won’t judge.
• No Hawaiian rolls? Soft potato buns or even mini ciabatta rolls work. Just avoid anything too crusty or dense.
• Make them gluten-free by using gluten-free slider buns. The toppings are naturally GF—hooray!
• For a low-carb version, skip the rolls and wrap the ham and cheese in lettuce leaves. It’s not a slider anymore, but your keto friends will thank you.
FAQ
You’ve got questions. I’ve got answers that may or may not be helpful. Let’s dive in.
• Can I make these ahead of time?
Yes! Assemble them (including the butter glaze), cover tightly with foil, and refrigerate for up to 24 hours. Bake as directed, adding 2–3 extra minutes if they’re cold from the fridge. Easy party prep.
• Can I freeze them?
Sure. Assemble (without baking), wrap the whole dish in plastic wrap and foil, and freeze for up to 2 months. Thaw overnight in the fridge, then bake as directed. It’s like having a dinner safety net.
• What if I don’t have Worcestershire sauce?
Substitute soy sauce or a splash of balsamic vinegar. Or just skip it—the world won’t end, though the flavor might be slightly less complex. No biggie.
• Why are my sliders soggy?
You probably went overboard with the butter mixture. Use just enough to coat the tops without pooling in the bottom of the pan. Also, don’t skip the uncovered baking time—it crisps things up.
• Can I use butter instead of… butter?
This is not a trick question. Yes, butter is non-negotiable here. Margarine will work in a pinch, but it won’t taste as luxurious. Live a little, use real butter.
• Are these good for parties?
Are you kidding? They’re party magnets. Double or triple the recipe for a crowd, cut them into individual sliders, and watch them disappear faster than free office bagels.
• What should I serve with them?
Keep it simple: potato chips, a green salad, or baked beans. Or just eat them straight off the pan like a goblin. I won’t tell.
Conclusion
So there you have it: ham sliders that taste like a hug in food form, without any of the usual kitchen drama. They’re perfect for busy weeknights, lazy weekends, or anytime you want to feed people without stressing out. Plus, they’re so simple you could probably make them in your sleep (though I don’t recommend testing that theory).
Give this recipe a shot, mess around with the toppings, and make it yours. And if your family asks for seconds, congratulations: you’ve officially nailed it. Now go forth and conquer dinner. You’ve got this—and if not, there’s always takeout.
