
Introduction
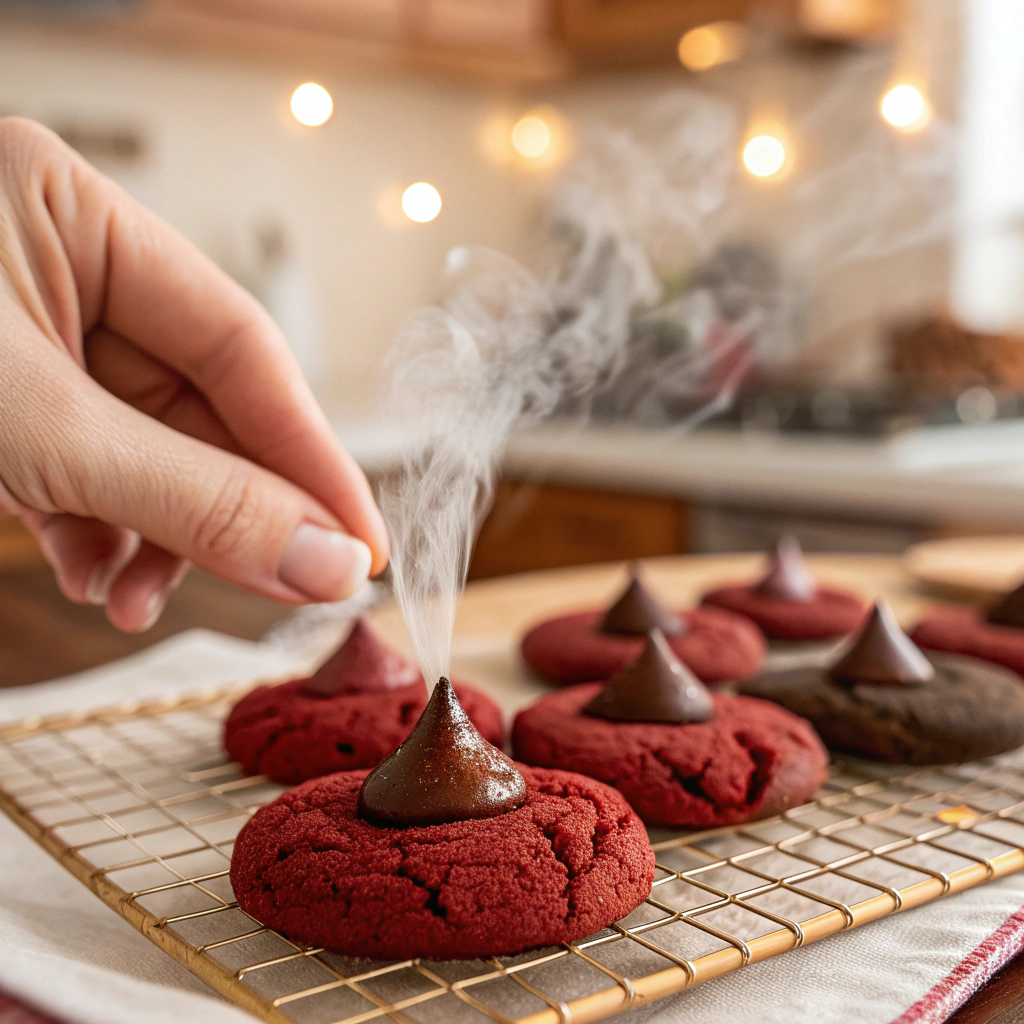
Welcome, fellow home bakers, to a recipe that promises to steal hearts and tantalize taste buds with its vibrant hue and irresistible flavor: Red Velvet Kiss Cookies. Imagine a plush, deep red cookie, subtly cocoa-infused and wonderfully tender, cradling a decadent chocolate kiss. These cookies are more than just a treat; they’re a celebration, a delightful fusion of classic red velvet cake and the joyous simplicity of a drop cookie. Perfect for holiday platters, bake sales, or simply a cozy afternoon indulgence, this recipe brings a touch of elegance and a whole lot of deliciousness to your kitchen. We’ll guide you through creating these show-stopping beauties, ensuring every bite is a perfect blend of velvety texture and sweet chocolate bliss.
Ingredients

Gather your essentials for a batch of approximately 3 dozen cookies:
* 2 ½ cups all-purpose flour
* ¼ cup unsweetened cocoa powder (Dutch-processed for richer color)
* 1 teaspoon baking soda
* ½ teaspoon salt
* 1 cup (2 sticks) unsalted butter, softened
* 1 ½ cups granulated sugar
* 2 large eggs
* 2 teaspoons vanilla extract
* 2 tablespoons milk
* 1 tablespoon white vinegar (or apple cider vinegar)
* 2 ounces red food coloring (liquid or gel for intense color)
* 1 bag (about 9-10 oz) Hershey’s Kisses, unwrapped
* ½ cup granulated sugar for rolling
Step-by-Step Instructions

1. Prepare Your Mise en Place: Preheat your oven to 375°F (190°C). Line several baking sheets with parchment paper. Unwrap all your Hershey’s Kisses; this crucial step saves time and frustration later.
2. Combine Dry Ingredients: In a medium bowl, whisk together the flour, cocoa powder, baking soda, and salt. Set aside.
3. Cream Butter and Sugar: In a large mixing bowl, using an electric mixer, cream together the softened butter and granulated sugar until light and fluffy, about 2-3 minutes. Scrape down the sides of the bowl as needed.
4. Add Wet Ingredients: Beat in the eggs one at a time, ensuring each is fully incorporated before adding the next. Stir in the vanilla extract, milk, vinegar, and red food coloring. The mixture will be a vivid, glorious red. Don’t be shy with the color—it’s what makes these cookies so iconic.
5. Combine Wet and Dry: Gradually add the dry ingredient mixture to the wet ingredients, mixing on low speed until just combined. Be careful not to overmix; overmixing can lead to tough cookies. The dough will be thick and vibrant.
6. Chill (Optional but Recommended): For easier handling and to prevent spreading, cover the dough and chill in the refrigerator for 30 minutes. This step helps the cookies maintain their shape and beautiful color.
7. Roll and Bake: Scoop rounded tablespoons of dough and roll them in the reserved ½ cup of granulated sugar, ensuring an even coating. Place them about 2 inches apart on the prepared baking sheets.
8. Bake and Kiss: Bake for 8-10 minutes, or until the edges are just set but the centers are still soft. Immediately upon removing from the oven, gently press an unwrapped Hershey’s Kiss into the center of each warm cookie. The chocolate will soften beautifully. Let them cool on the baking sheet for 5 minutes before transferring to a wire rack to cool completely. The kisses will firm up as they cool, creating that perfect “kiss” texture.
Expert Tips
* Food Coloring Matters: For the most dramatic red, opt for a good quality gel food coloring. Liquid food coloring can dilute your dough, but if using, ensure it’s a concentrated brand. Red, like a fine wine, should be deep and rich.
* Don’t Overbake: These cookies are meant to be soft and slightly chewy. Removing them when the edges are just set will ensure a tender interior. They will continue to set as they cool.
* The Chill Factor: While optional, chilling the dough not only makes it easier to handle but also helps to prevent the cookies from spreading too much, maintaining their lovely dome shape and vibrant color.
* Kiss Placement: Press the chocolate kisses into the cookies immediately after they come out of the oven. If you wait too long, the cookies will start to set, and the kisses won’t adhere as smoothly.
* Storage: Store these delightful cookies in an airtight container at room temperature for up to 3-4 days to maintain their freshness and tender texture.
Variations
* White Chocolate Kisses: For a less intense chocolate flavor and a beautiful contrast, substitute milk chocolate Hershey’s Kisses with white chocolate ones.
* Cream Cheese Frosting Drizzle: Once completely cooled, drizzle a simple cream cheese glaze (powdered sugar, cream cheese, milk, vanilla) over the cookies for an extra layer of classic red velvet flavor.
* Nutty Crunch: Finely chop pecans or walnuts and fold a quarter cup into the dough for a delightful textural contrast. This adds a subtle earthy note that complements the cocoa beautifully.
* Espresso Boost: Add a teaspoon of espresso powder to the cocoa and flour mixture to deepen the chocolate flavor without making it taste like coffee.
Conclusion
There you have it—a recipe for Red Velvet Kiss Cookies that will bring warmth, color, and undeniable deliciousness to any occasion. These cookies are a testament to the simple joy of baking: the vibrant colors, the inviting aroma filling your kitchen, and the pure delight of sharing something so utterly delicious. Whether you’re a seasoned baker or just starting your culinary journey, these cookies offer a rewarding experience and a truly spectacular treat. Go ahead, whip up a batch, and let these crimson kisses sweeten your day and impress your loved ones!